January 26th, 2012 by Marc AuMarc
I’ve been wanting to make a small box out of white plexiglass for a while, and now I have it. It is open on the top and has wings on the sides to attach small flash units. I made it to photograph insects and other small animals in the field and, so far, it seems pretty promising.
Here are a few test shots I took at our house:
As you can see, it provides a pretty nice, even lighting because the flash is diffused through the plexiglass. The background is more or less pure white for uncluttered images of the subjects. In the field, the results are similar.
With a few tweaks, I think it should be very useful, at least for certain critters, like ones that don’t fly. Stay tuned!
Posted in Fruits Gear, Les Fruits sur la Terre
Comment on this post.
October 25th, 2011 by Marc AuMarc
Yesterday the Compound Eye blog about insect photography introduced me to the Meet Your Neighbors project and an interesting approach to photographing animals. Of course, I got to work immediately on a variant of the technique that I could use with the materials I had on hand, namely a cardboard box, some tissue paper and one of my macro flash units.
The technique is to use diffused backlighting to take animal portraits in the wild that are backlit and have pure white backgrounds making them more or less like studio portraits done in the field. It’s a bit tricky because you have to position yourself on one side of the subject and the flash on the other. My variation is all handheld, making it easier to maneuver around a moving subject. I still have a lot of practice to really get good at the technique, but with some experimentation with exposure and positioning I was able to get some promising shots the first time out.
Practicing a new technique also seems to be a good way to find new, interesting insects. In this case, my favorites were a couple different immature hemipterans, one of which is an ant-mimic.
Posted in Fruits Gear, Les Fruits sur la Terre
Comment on this post.
March 24th, 2010 by Marc AuMarc
Last week at Pinel I was able to test my new super special macro flash rig. The setup consists of two strobes mounted on the end of my macro lens, which are triggered by the built-in flash. I used the setup with my 85mm macro lens and used diffusers on both the flashes. On Amazon, most of the reviews are by dentists who use this setup to take photos of teeth.
Overall, I found it works quite well. Reflective surfaces still have a bit of glare, but overall the lighting is softer and more even, while still allowing me to have greater depth of field and sharper focus. I was also delighted to find a couple dwarf gecko eggs, one hatched, one unhatched. I believe these geckos typically lay a single egg, which is quite large compared to the size of the lizard. I also saw the smallest gecko yet, probably less than half-an-inch long including tail.
Posted in Explorations, Fruits Gear, Les Fruits sur la Terre
Comment on this post.
March 17th, 2010 by Marc AuMarc
A couple months ago, I put some pretty serious scratches in my Ikelite dome, which clearly showed up in any wide-angle or fisheye photos I took with the dome. Rather than get a new dome, I got a Micro Mesh kit for acrylic restoration. It was about $40, or about a tenth the cost of a new dome.
Essentially it’s a bunch of very fine sandpaper that you use progressively. First, you use regular sandpaper to sand out the scratches, if they’re big enough to warrant that, and mine were. Next, you use the micro mesh sandpapers, which go from 1200 to 12000 grit. At each step, you sand in one direction, ninety degrees from the last step, making sure to eliminate any traces of the previous sanding. After finishing with all the sandpaper, you buff it with a special paste.
Does it work? Yes. As you can see from the photos, things start off looking bad, but quickly get better, until the dome is totally smooth again. The toughest part is the edge of the dome, where it is hard to always remove the previous sanding. In my case, I ended up with a few small sanding scratches at the edge of the dome, but they don’t show up underwater because water is essentially the same density as acrylic, so it fills in minor scratches.
Posted in Fruits Gear, Underwater Photography, Useful Tips for Expeditioneers
Comment on this post.
December 13th, 2009 by Marc AuMarc
When I take the little camera out, it is often somewhat difficult to use the strobe, particularly in relatively shallow water where there is already quite a bit of light. In these situations, the strobe easily overwhelms the camera with light, even when set to low power. Yesterday I tried adjusting the exposure control darker, since the camera doesn’t have aperture or shutter speed controls. I think this did allow me to use a bit more strobe to capture colors without blowing out the pictures.
I also found a decapitated rat carcass floating in the bay.
Posted in Fruits Gear, Useful Tips for Expeditioneers
Comment on this post.
November 30th, 2009 by Marc AuMarc
Monday was moving day, so while we waited for our new room next door I took the Tokina 35mm macro around the neighborhood to see how it works topside. My experience was very similar to using it underwater. It’s not quite as good for really small stuff, especially if you don’t want the shadow of the lens in the photo, but it’s quite versatile and much easier to use for normal shots. These virtues combined make it a very useful lens, especially if you are just bringing one lens along.
Posted in Fruits Gear
Comment on this post.
May 17th, 2009 by Marc AuMarc
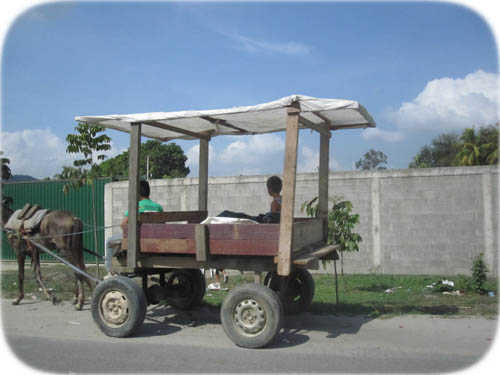
This morning we took a taxi back to the San Pedro Sula airport, passing horse-drawn carts filled with fruit,
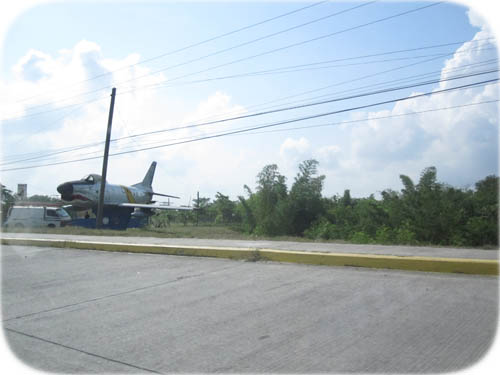
an old airplane with sweet WWII Flying Tigers-style nose art,
and a billboard for what appears to be the awesomest educational facility ever: the Albert Einstein International School (“Where imagination is stronger than knowledge”).

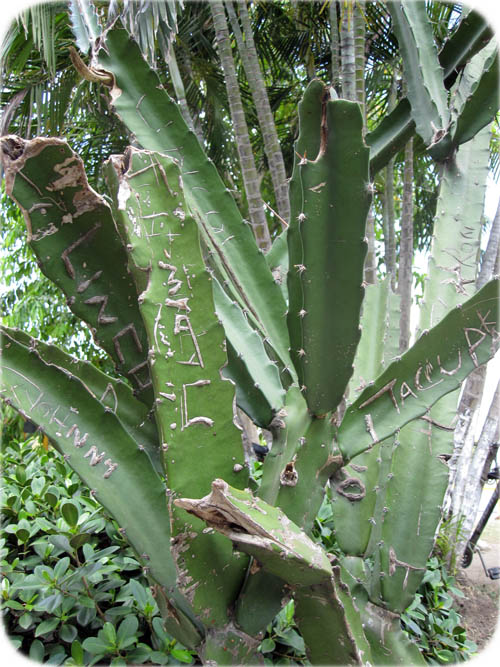
An interesting observation: apparently here cacti, rather than tree trunks, are the hot spots for carving one’s name.
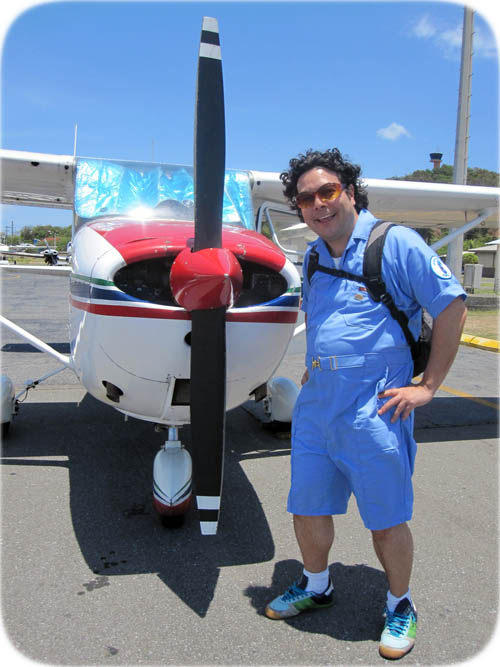
We hopped on a tiny plane and flew directly to Roatan,
where we cabbed it to the West End. In 15 minutes flat we checked into our hotel, set up our camera gear and dive equipment, and hustled to Coconut Tree Divers just in time for the 1 pm dive at Fish Den.
There we spotted a turtle, many Black Durgeon, a big grouper, three little arrow crabs, and a rad brittle star clinging to a coral.
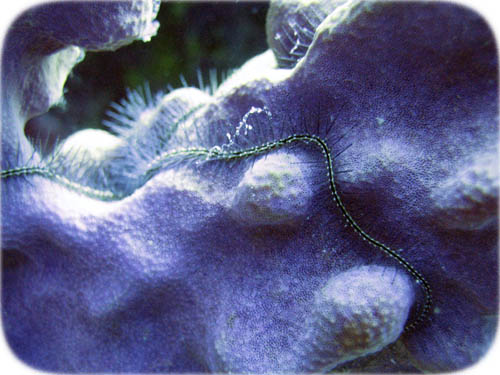
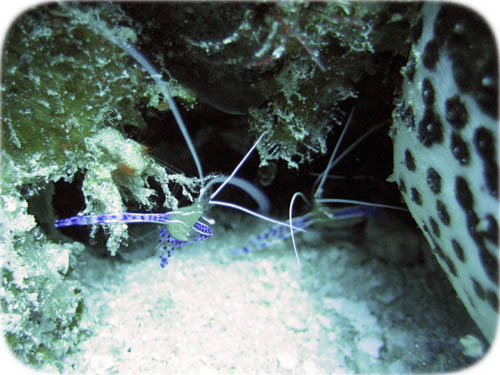
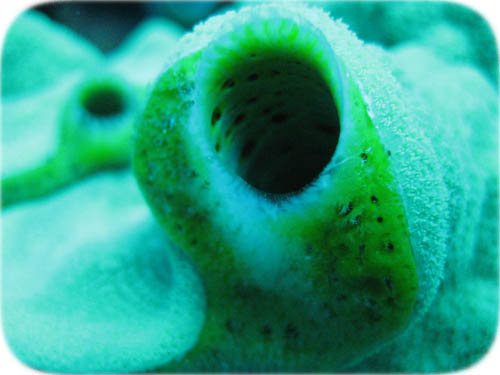
Our 2:30 pm site was Half Moon Bay Wall/Divermaster’s Choice, where we found a little cleaning station manned by a couple of Pederson Cleaning Shrimp, some cool coral, a beautiful French Angelfish, and a Queen Angelfish.
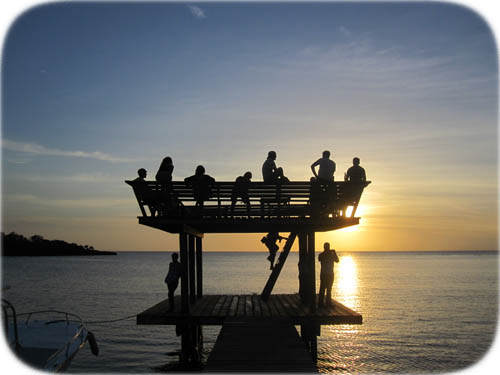
We watched the sunset from the dock with our friends from Coconut Tree, and ended the evening with drinks at Sundowner’s and some local pizza.
Posted in blog, Fruits Gear, Marine Ecology, On Expedition
Comment on this post.
May 10th, 2009 by Marc AuMarc
Our video light was nigh unusable, delivering a pronounced hot spot in the image. Although Epoque does make a diffuser for the light, we were unable to order one in the US. This ended up being a great opportunity to improvise a diffuser for this light.
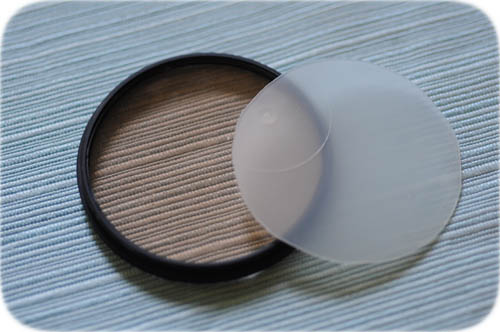
After testing several materials by shining an underwater flashlight through them in the dark, I found that the lid to the container that is used locally for take out Chinese soup and Indian food. This translucent plastic does a good job diffusing the light without cutting down the brightness too much. It can at least handle the temperature of hot food, and is soft and easy to work with.
Here is the red filter that threads into the front of the video light and the homemade diffuser:
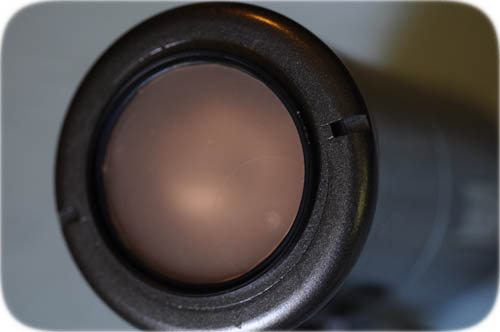
Because the material is thin, it fits easily inside the threaded filter, making it easy to attach to the light itself. Here is the light with the diffuser and red filter:
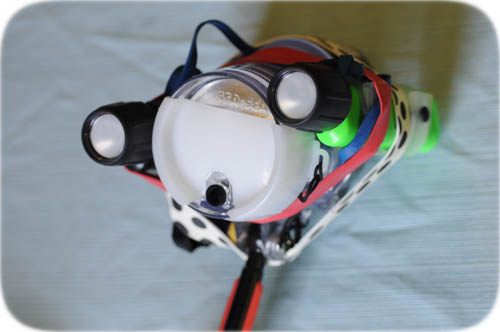
This worked so well, I decided to add the same diffusers to our mini dive lights. I simply used smaller circles of the plastic and inserted them between the bulb unit and the front window of our dive lights:
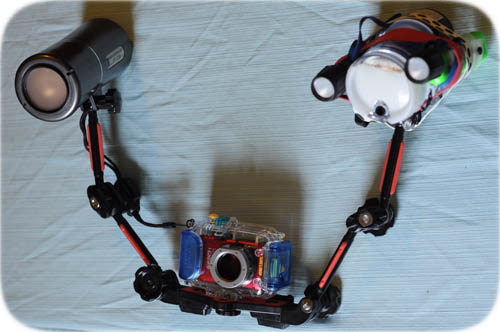
I used a couple extra-large rubber bands to affix these dive lights to the strobe on one arm of this camera setup, the other arm holding the video light. The resulting system has three diffused lights with minimal hot spots in the video image:
Posted in Fruits Gear
Comment on this post.
February 5th, 2009 by Marc AuMarc
An extreme shallow snorkeling expedition requires the proper equipment, particularly if it is to be properly documented. Here is a photo of some of the gear we are bringing with us:
In addition to our underwater photography and video gear, it’s important to have tools and supplies should unexpected needs arise. In our case, items like giant rubber bands and electric tape are a must. In order to scout potential E.S.S. locations we bring binoculars, and to get a closer look at micro-life, magnifying glasses. We have underwater flashlights for night dives and a blinking reflector for safety. Walkie-talkies can be essential for communication, particularly if the team splits up for reconnaissance (and compasses come in handy to ascertain our position). We also bring our official Fruits de Mer rubber stamp to mark official documents.
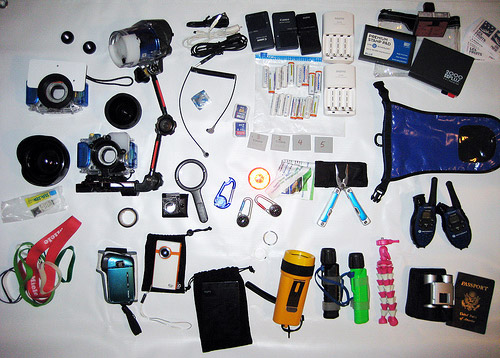
The photo above is also posted on flickr, with annotations describing the tools of our trade.
Posted in Fruits Gear
Comment on this post.


